Create Your Hub.
The Hub.
Hubs are home bases for your riding community — a place to gather members, share your group, and give people a way to find you. This guide walks you through creating one from start to finish.
It only takes a few minutes. Just four things are required (your hub’s name, type, city, and state); everything else is optional and can make your hub more discoverable and easier to contact.
Before you start
Have these four things ready — they’re the only required fields:
- A name for your hub
- A hub type (you’ll pick this from a list)
- The city your hub is based in
- The state your hub is based in
Optional extras you might want on hand: a logo image saved to your phone, a short description, your address, and any contact or social links (phone, email, website, Instagram).
Step-by-step
1. Open the Create Hub screen
Navigate to Create Hub. The form loads with everything you need on a single scrolling screen — there are no separate pages or steps to click through.
2. Add a logo (optional)
At the very top you’ll see a square image with Choose Logo beneath it. Tap it to open your photo library and pick an image for your hub. If you skip this, your hub gets a default logo and you can always add one later.
3. Enter your hub name (required)
In the Hub Name field, type the name riders will see. This one’s required, so the hub can’t be created without it.
4. Choose a hub type (required)
Tap Hub Type and a list will slide up from the bottom of the screen. Pick the type that best fits your hub, then confirm your choice. This is required.
5. Write a description (optional)
Use the Description box to tell members what your hub is about — your vibe, who it’s for, when you ride. There’s room for a few lines.
6. Set your location
This is the easiest part. In the Search Address box, start typing your address or the name of a place (you’ll need at least a few letters). Pick the matching result from the list, and the app automatically fills in your Address, City, State, ZIP, and Country for you.
Prefer to type it in yourself? You can fill in any of the location fields by hand:
- Address and Address Line 2 — your street address (optional)
- City — required
- State — required
- ZIP — optional
- Country — defaults to US; change it if needed
Tip: Using the address search is the quickest way to get everything right, and it places your hub accurately for riders looking nearby.
7. Add contact and social links (optional)
None of these are required, but they help members reach you and find you online:
- Phone
- Email — must be a valid email address if you add one
- Website — must be a valid web address (for example,
https://example.com) - Instagram URL — must start with
https://instagram.com/(for example,https://instagram.com/yourhubhandle)
If you enter one of these in the wrong format, you’ll see a short message telling you how to fix it.
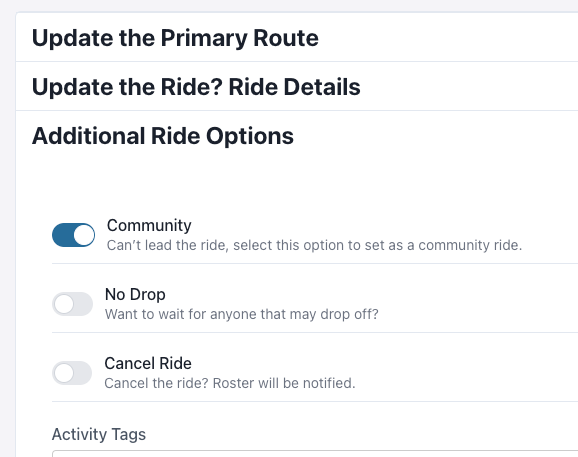
8. Choose public or private
At the bottom is a Privacy toggle:
- Off (default): Your hub is public — anyone can join.
- On: Your hub is private — new members have to be approved before they can join.
Flip this on if you want control over who gets in.
9. Save your hub
When you’re ready, tap the save icon in the top-right corner of the screen. You’ll see a brief spinner while your hub is created.
What happens next
Once your hub is created, you’ll get a “Hub Created” confirmation and you’ll be taken straight to your new hub’s page, ready to go.
Troubleshooting
The save icon doesn’t seem to do anything.
Double-check that all four required fields are filled in: Hub Name, Hub Type, City, and State. If one is missing, the hub won’t save — scroll up to spot any field flagged with a message.
My email, website, or Instagram link won’t accept.
These have to be in the right format. Make sure your email looks like a real address, your website starts with https://, and your Instagram link starts with https://instagram.com/.
The hub types won’t load.
If you see an error about loading hub types, your connection may have dropped. Close and reopen the screen to try again.
Creation failed.
If you get a “Create Failed” message, wait a moment and tap save again. If it keeps happening, check your internet connection.
That’s it — your hub is live and ready for riders to find and join.